Final design of the calculator casing
Final design of the calculator casing
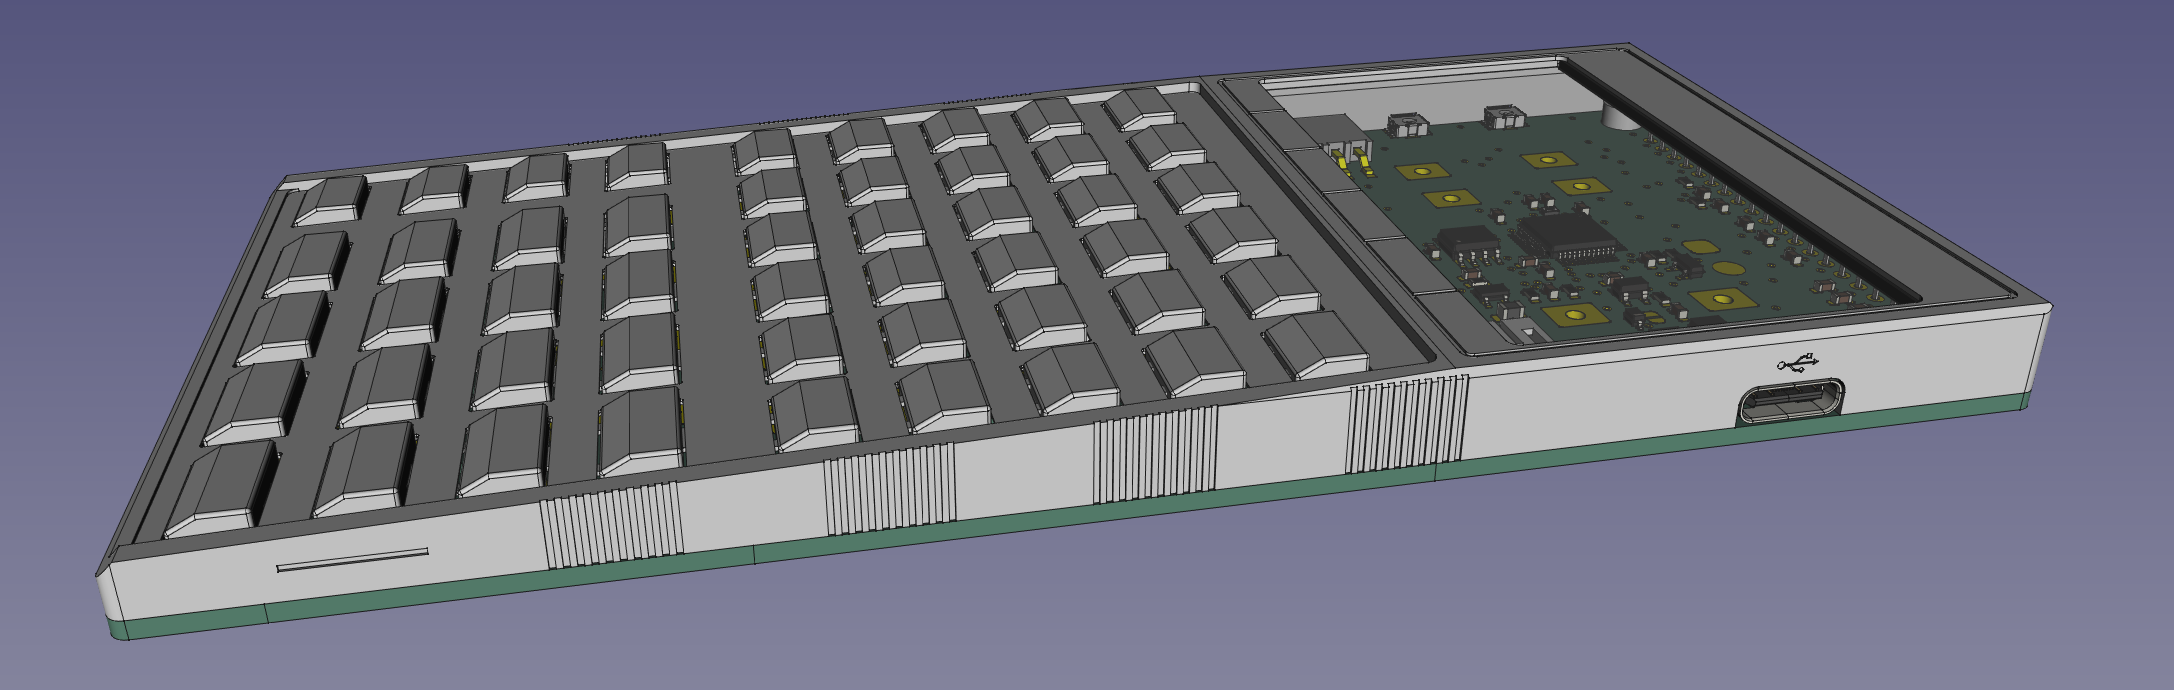
I’m thrilled to share with you the first images of the calculator casing in its final design!
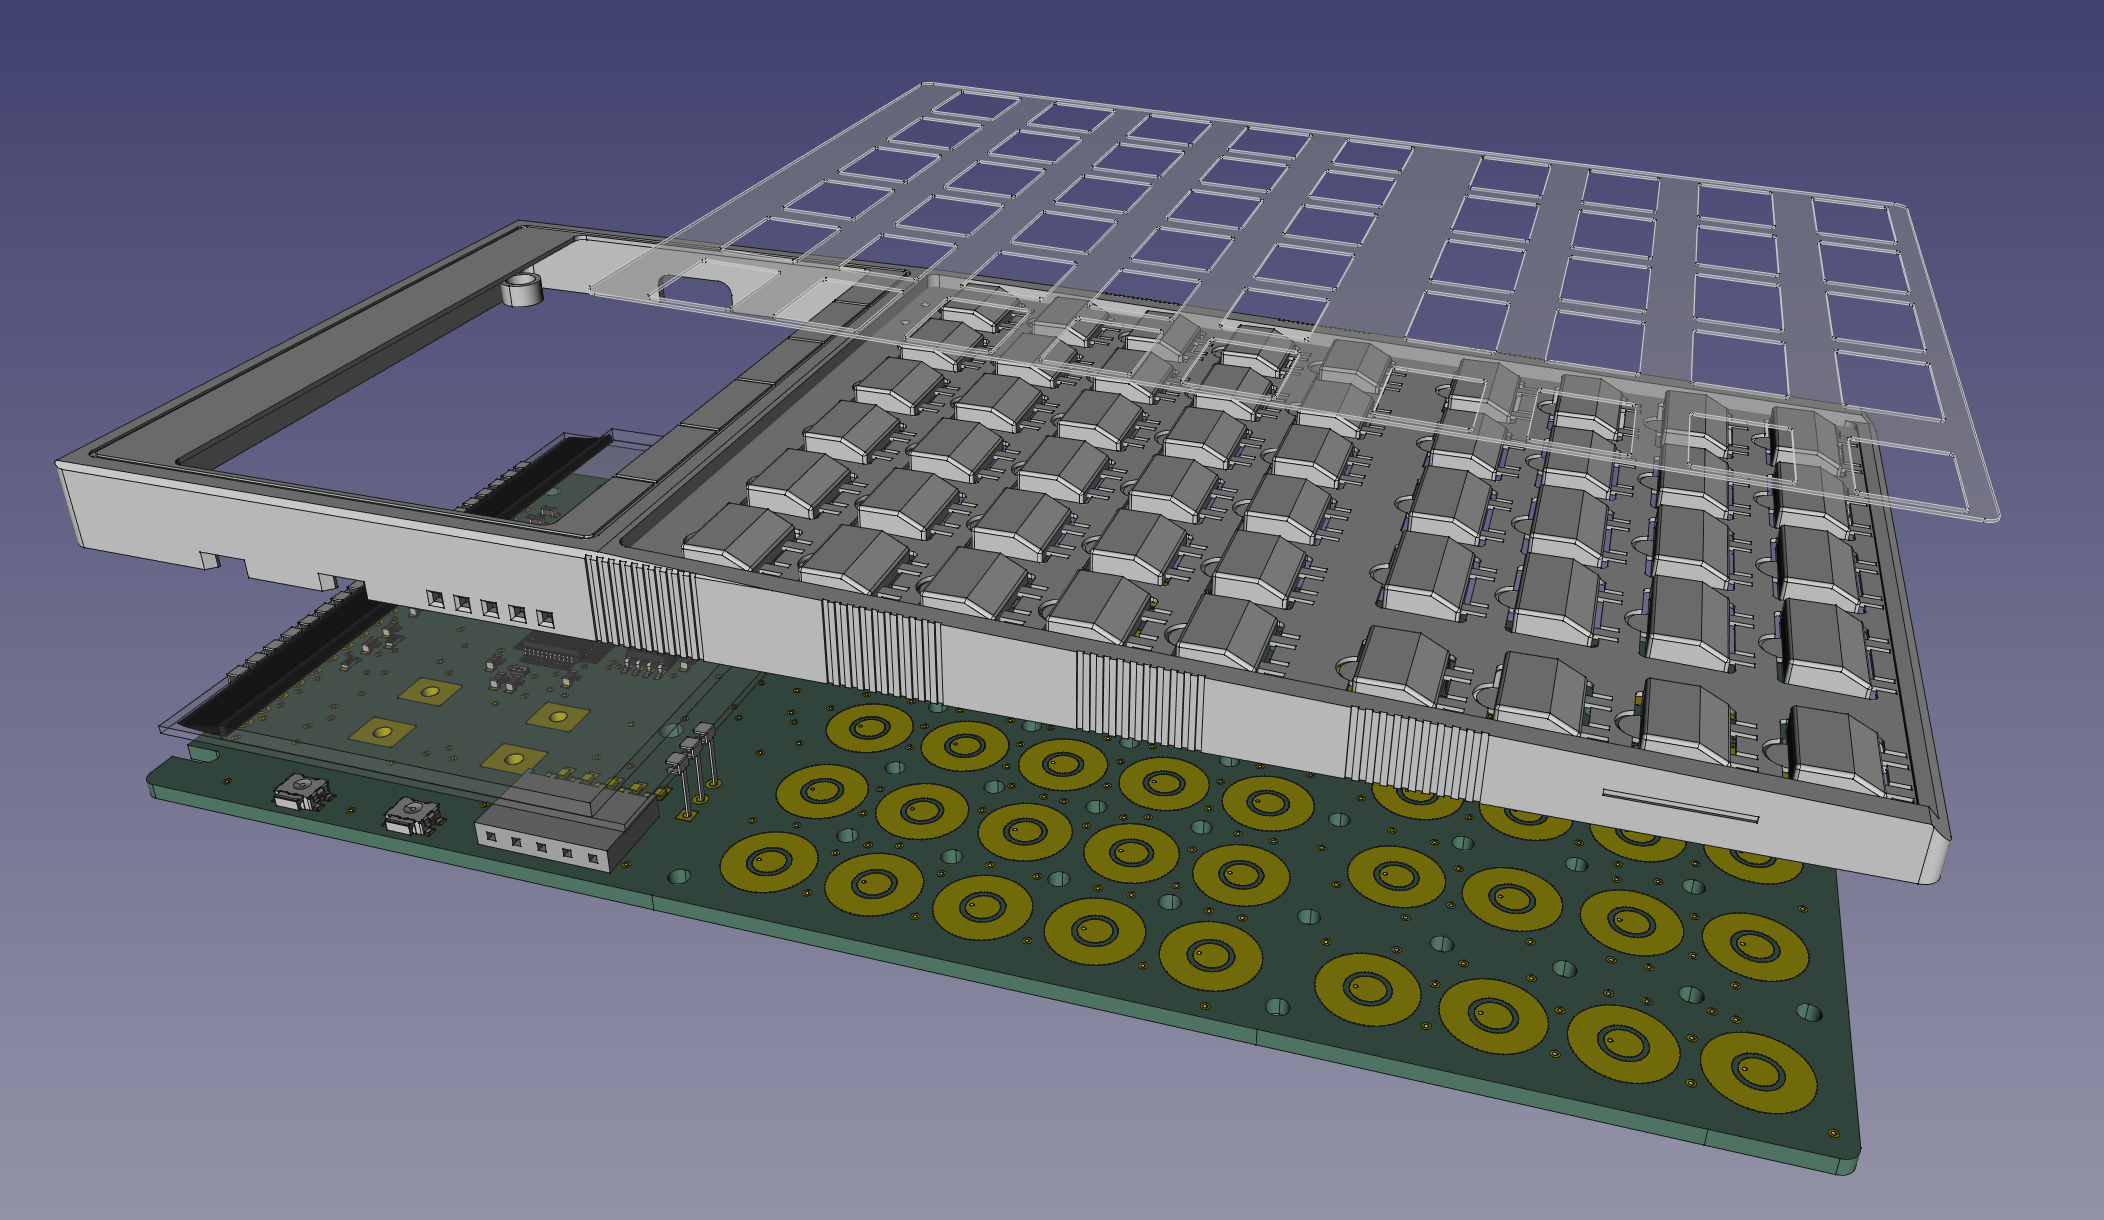
First, let’s take a look at how simple it is to assemble this calculator. At the core is the electronic circuit board, which is neatly enclosed by the casing, and finally, a sticker is applied to display the secondary functions.
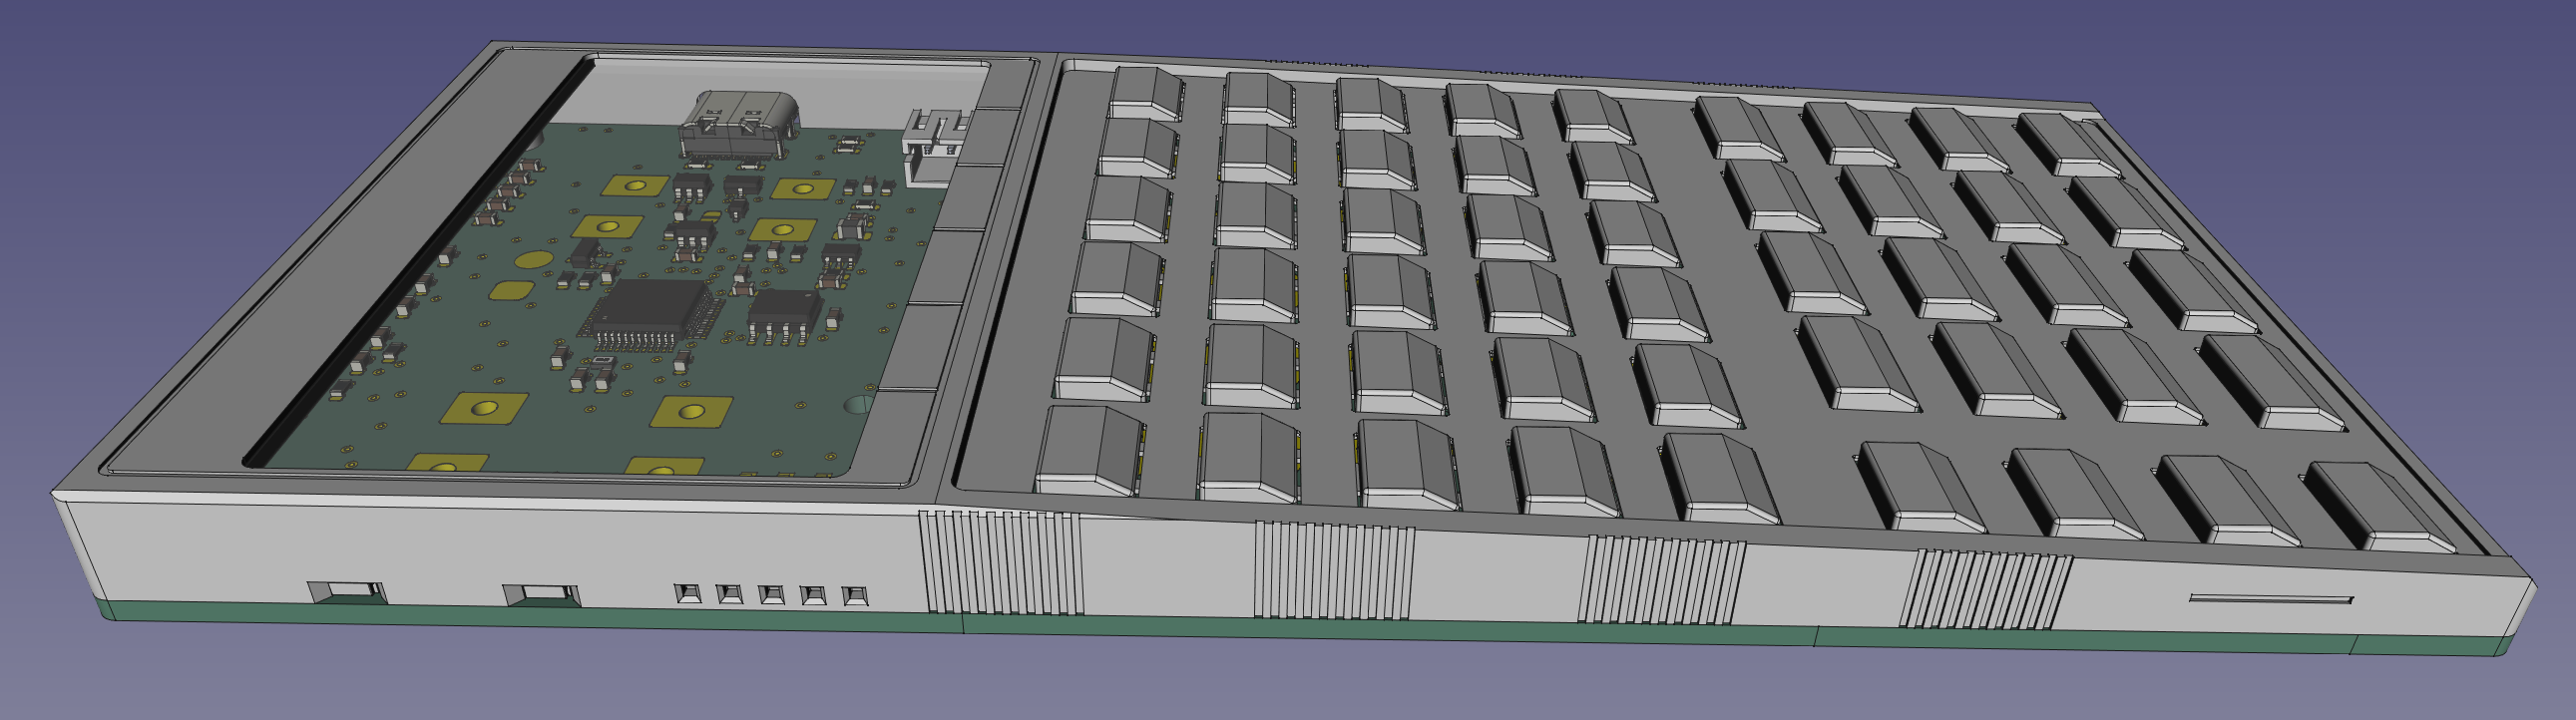
One of the standout features is that the casing seamlessly integrates the keyboard, with the primary functions already printed on it. We’ve also made sure that accessing the reset and programming buttons is super easy. On the left side, you’ll find indents in the casing that make these buttons easily accessible.
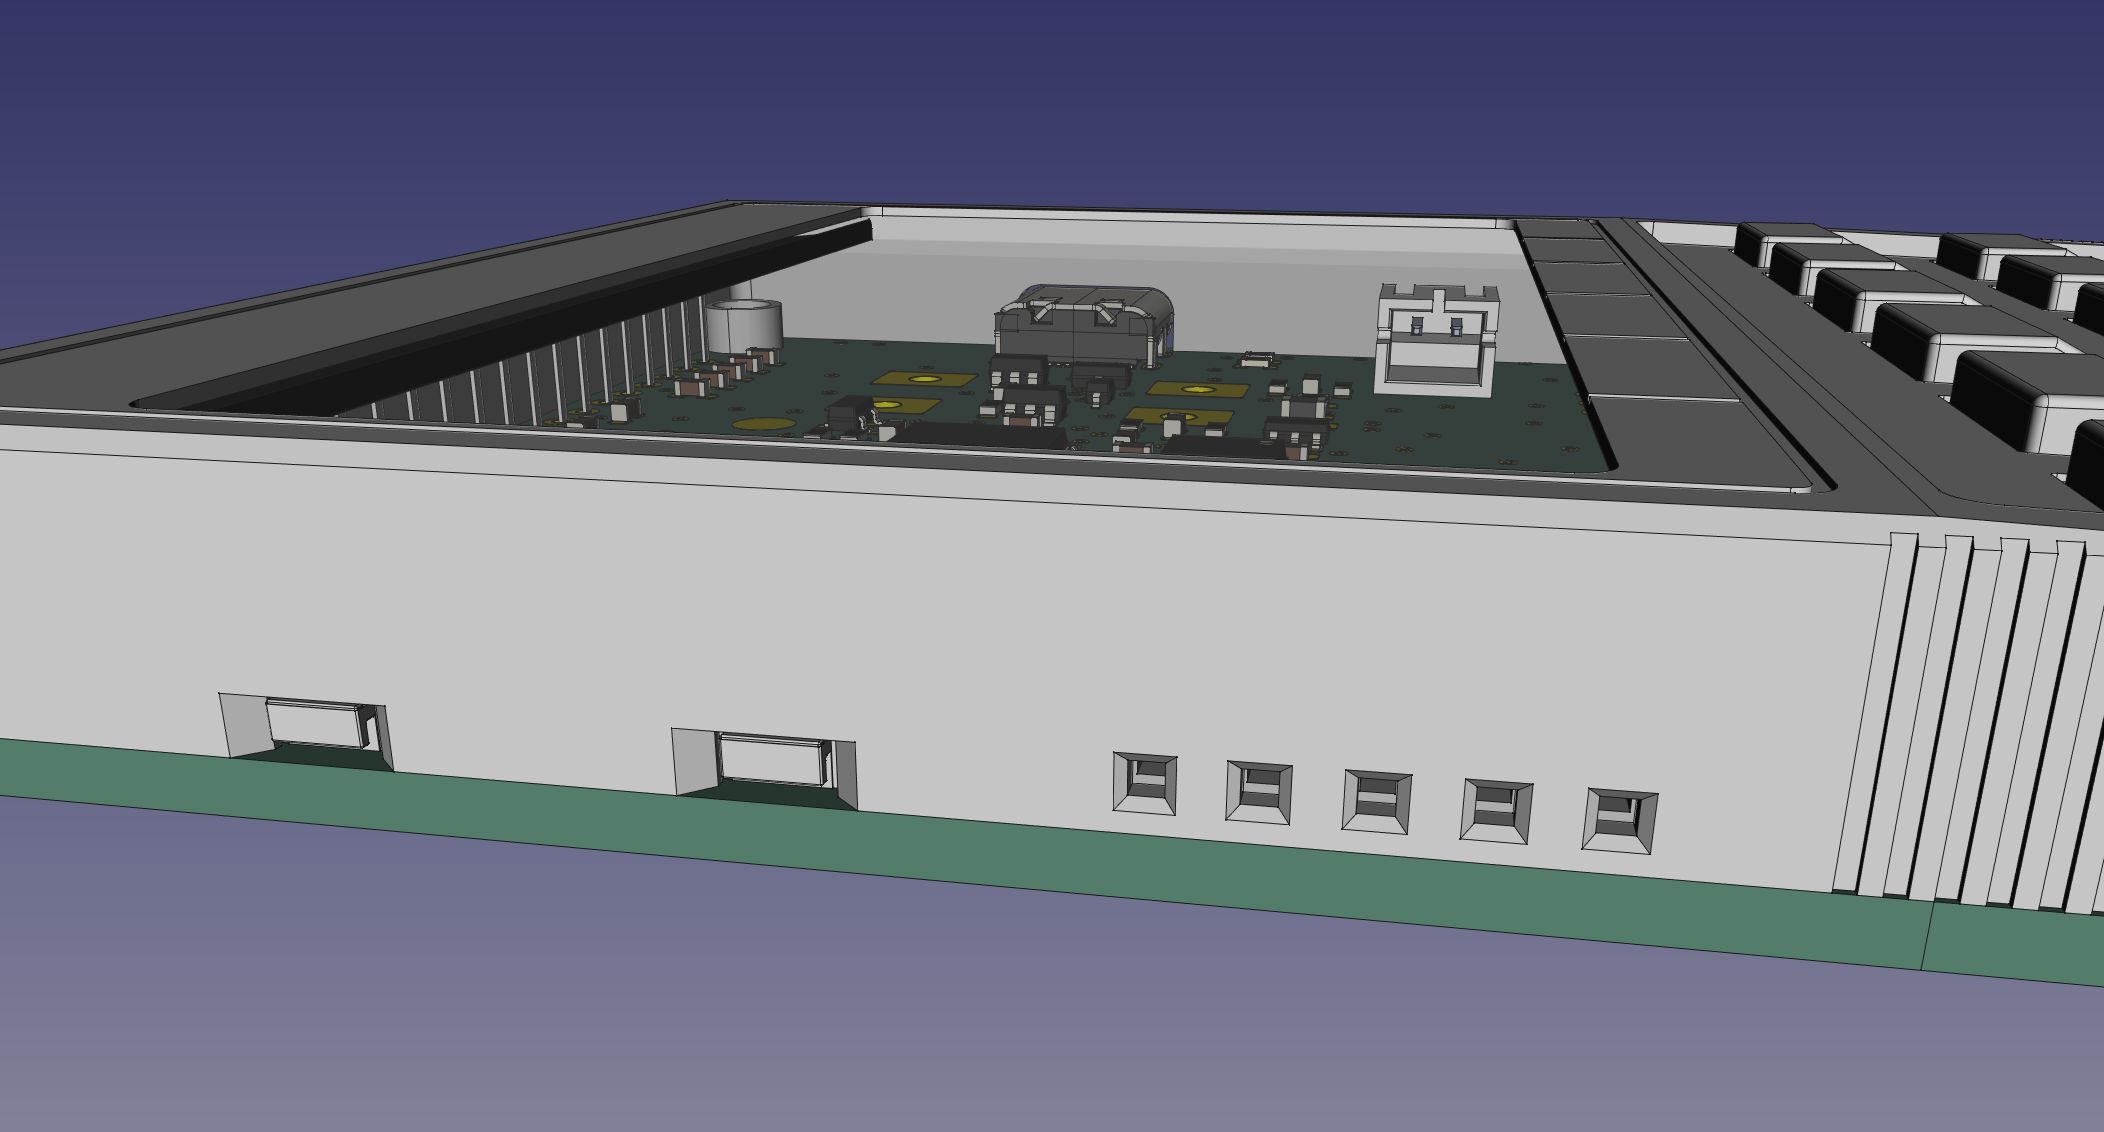
Additionally, we’ve ensured that accessing the connector for programming and debugging is a breeze. Although programming can be done via USB without a special programmer, this connector offers valuable debugging capabilities for firmware developers, which is a highly appreciated feature.
As you can see, the design is sleek and modern, comparable in size to a standard smartphone, like the latest iPhones. This compact design is a far cry from the bulky calculators of the past, fitting comfortably in your hand and your pocket.